Create a Moment
Capturing a Moment takes about 30 seconds. Open the app, share what happened, save.
The capture happens on mobile. There's a fallback path on desktop (Add moment on the Moments page) but the AI experience is noticeably richer from the phone.
From mobile — the 30-second flow
1. Open the app
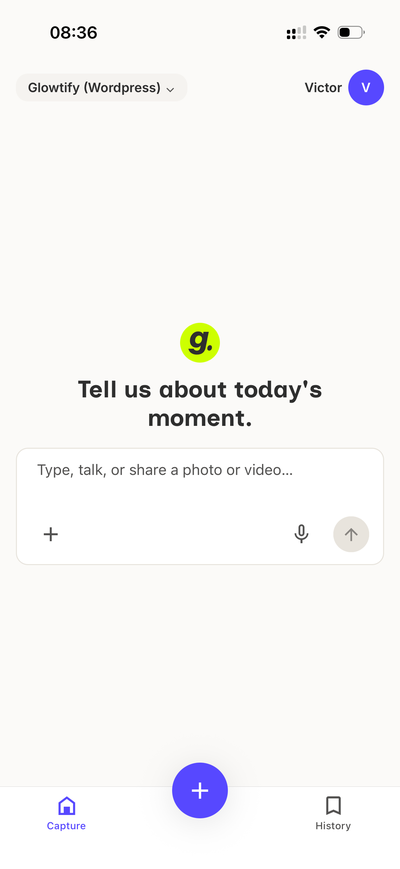
The home screen greets you with "Tell us about today's moment".
2. Share what happened
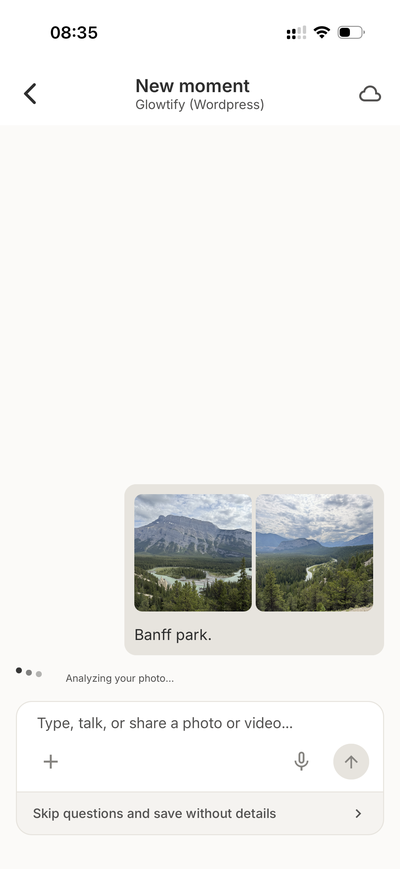
Three ways in, pick whichever's fastest:
- Tap the camera icon to take a photo right now
- Tap the library icon to pick a photo or video already on the phone
- Just type a couple of lines in the composer
- Or hold and speak — the mic button records a voice note, transcribed on the fly
3. Let the AI ask a few follow-ups
The AI reads what you shared and asks a couple of quick questions to sharpen the Moment. Things like "who's in the photo?", "what's happening?", "is this for a specific campaign?" Answer with your voice or your thumbs. Two or three exchanges is usually enough.
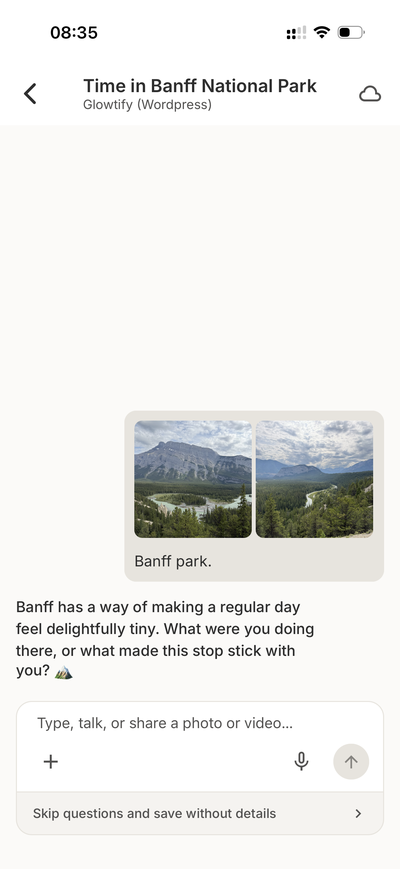
In a hurry? Tap Skip and save at the bottom of the composer. The Moment gets saved with what you gave it, no questions asked. You (or a teammate on desktop) can flesh out the details later.
4. Review and save
The AI proposes a title, description, and date. Edit any of them if the AI got them off. Set the assignee if the Moment is meant for a specific person on the team to use (see Notifications & assignee).
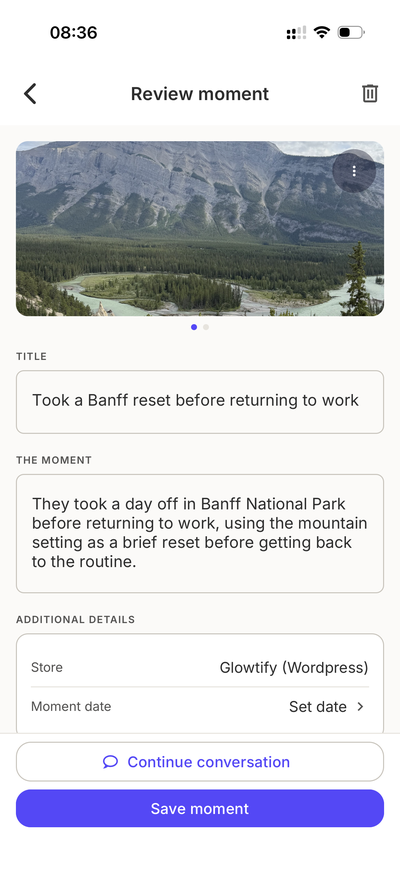
Tap Save. The Moment is now in your Glowtify Workspace, synced to desktop, and ready to be used in content.
From desktop — Add moment
Sometimes a photo lands in your inbox instead of on a phone. Or a video is exported from a shoot and dropped into a cloud folder. To save it as a Moment without going through the phone:
- Go to Content planning → Moments on desktop
- Click the Add moment button in the top-right of the page
- Upload the media, give it a title and a short description, pick a date
- Save
The Moment goes into the Workspace with Source: Desktop (as opposed to Mobile), which is a filter you can use later on the list. Everything else — assignee, statuses, using it in content — works exactly the same.
Moments started but not saved
If you leave the capture chat halfway through, the Moment is kept as a Draft. Come back to it later from the Moments list, filter on Status: Draft, tap the row, finish where you left off.
Glowtify also sends you a nudge if a Draft's been sitting untouched for a while, in case you forgot. Two nudges max. If you still don't come back, empty drafts get cleaned up automatically.
Related articles
- Install the mobile app — the phone side of the flow
- Use a Moment in a post — what to do with a Moment once it's saved
- Notifications & assignee — team-in-the-loop mechanics
- Request a Moment from a teammate — when you need someone else to capture it